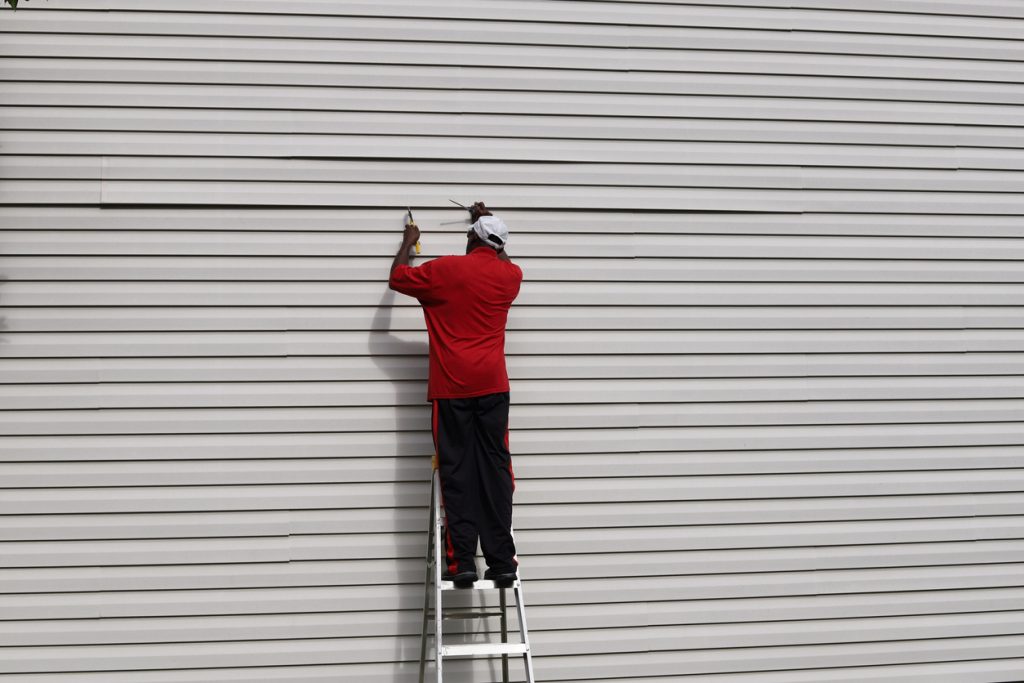

Install Your J Molding
Vinyl siding installation around windows is a crucial step in enhancing the aesthetic appeal and functionality of your home. By properly installing Calgary vinyl siding around windows, you can ensure a durable and weather-resistant barrier that protects your home from the elements. This article provides essential guidance on how to install vinyl siding around windows, ensuring a professional and seamless finish. Discover the techniques and best practices to achieve a visually pleasing and long-lasting result.
When installing vinyl siding around windows, it is crucial to pay attention to the details to ensure a proper fit and secure installation. By following the recommended steps and techniques, you can seamlessly blend the siding with your windows, creating a cohesive and visually appealing appearance.
One key aspect to consider during vinyl siding installation around windows is the integration of J-channel and corner posts. These elements play a crucial role in achieving a professional finish and maintaining the structural integrity of the siding. Properly installing and sealing these components will ensure that your vinyl siding remains securely in place and offers excellent protection against water infiltration.
Pro Tip: Before starting the installation process, make sure to measure and trim the vinyl siding accurately to ensure a perfect fit around your windows. Taking the time to properly prepare and measure will result in a cleaner and more seamless installation.
Confirming Building Preparations
Installing vinyl siding around windows requires confirming building preparations. This involves assessing the readiness of the building before the installation process. Here is a step-by-step guide to confirming building preparations:
- Inspect the window frame: Check for any damage or rotting in the window frame. Repair or replace any damaged sections before installing the vinyl siding.
- Measure the window openings: Accurately measure the dimensions of each window opening. This will ensure that you cut the vinyl siding panels to the correct size for a perfect fit.
- Check for level and plumb: Ensure that the window openings are level and plumb. Use a level to check both horizontally and vertically. Adjust the window frame if necessary to ensure a proper fit of the vinyl siding.
- Remove any obstacles: Clear the area around the windows of any obstacles, such as plants or debris, which could hinder the installation process. This will make it easier to work and ensure a clean finish.
- Apply weather-resistant barrier: Install a weather-resistant barrier around the windows to provide added protection against moisture. This barrier acts as an extra layer of defense and helps prevent water infiltration.
In addition to these steps, it is important to note that proper building preparations ensure a smooth and successful vinyl siding installation. By confirming that the window frames are in good condition, measuring accurately, checking for level and plumb, removing obstacles, and applying a weather-resistant barrier, you create a solid foundation for the installation process.
To further enhance the installation, here are some suggestions:
- Use quality materials: Invest in high-quality vinyl siding and weather-resistant barrier materials. This will ensure durability and longevity.
- Follow manufacturer guidelines: Adhere to the manufacturer’s instructions and recommendations throughout the installation process. This will help you achieve the best results and avoid any potential issues.
- Seek professional help if needed: If you are unsure about any aspect of the installation process, it is advisable to seek assistance from a professional contractor. They have the expertise and experience to handle the job effectively.
By following these suggestions and confirming the building preparations, you can ensure a successful vinyl siding installation around your windows.
Installing Bottom J-Channel
Installing Bottom J-Channel: Step-by-Step Guide
- Prepare the area around the windows
- Remove any existing siding and trim around the windows to expose the bare wall.
- Ensure that the wall surface is clean and free from any debris or obstructions.
- Measure and cut the J-channel pieces
- Take precise measurements of the sides and bottom of the window.
- Using those measurements, cut the J-channel pieces to fit around the window, leaving a 1/4-inch gap for expansion.
- Attach the J-channel to the wall
- Start by nailing the J-channel along the bottom of the window, aligning it with the bottom edge of the window sill.
- Secure the J-channel to the wall using nails or screws, making sure it is level and plumb.
- Repeat the process for the sides of the window, overlapping the J-channel pieces at the corners to create a seamless look.
Important note: Ensure that the bottom J-channel is installed properly to prevent water infiltration and ensure a secure attachment for the siding.
Did you know? According to the article “HOW TO INSTALL VINYL SIDING AROUND WINDOWS,” proper installation of the bottom J-channel is crucial for a professional-looking and long-lasting vinyl siding project.
Installing Side J-Channels
Installing Side J-Channels is a crucial step when it comes to installing vinyl siding around windows. This process ensures a seamless and professional finish to your siding project. Follow these 5 simple steps to successfully install side J-channels:
- Measure and cut: Begin by measuring the length of each side of the window where you will be installing the J-channel. Use a saw or tin snips to cut the J-channel to the appropriate length.
- Attach the bottom piece: Start by inserting the bottom piece of the J-channel under the siding, aligning it with the bottom edge of the window. Secure it in place using nails or screws, ensuring it is level and straight.
- Install the side pieces: Take the side pieces of the J-channel and slide them into place, making sure they fit snugly against the window frame. Use nails or screws to secure them into position, ensuring they are level and straight.
- Cut and install the top piece: Measure the length needed for the top piece of the J-channel and cut it to size. Insert it over the side pieces, making sure it is flush with the top edge of the window. Secure it in place with nails or screws, ensuring it is level and straight.
- Seal and finish: To provide added protection against moisture, seal all the joints and gaps with caulk. Once the caulk is dry, your J-channel installation is complete, and you can proceed with installing the vinyl siding around the windows.
In addition, make sure to choose J-channels that match the color and style of your vinyl siding for a cohesive look. By following these steps, you can achieve a professional and seamless installation of J-channels for your vinyl siding project.
When it comes to the history of installing side J-channels, it has been a commonly used technique for decades in the construction industry. The purpose of J-channels is to provide a neat and finished appearance to the edges of windows and ensure the siding is securely attached. The process has evolved over time, with advancements in materials and installation techniques, resulting in easier and more efficient installations. Today, installing side J-channels is a standard practice in vinyl siding installation, contributing to the overall quality and aesthetic appeal of homes and buildings.
Installing Drip Edge
- Measure and Cut: Measure the length of the window trim and cut the drip edge accordingly using tin snips. Ensure that the drip edge overlaps the corner trims.
- Position and Secure: Position the drip edge along the top edge of the window trim, making sure it extends beyond the corner trims. Use roofing nails or stainless steel screws to secure the drip edge in place.
- Attach to Siding: Slide the vinyl siding panels onto the drip edge, ensuring a snug fit. Make sure the siding panels overlap the drip edge and are properly locked in place.
- Secure the Bottom Edge: Secure the bottom edge of the siding panels by inserting the bottom part into the J-channel or by using a utility knife to score and snap the bottom edge onto the drip edge.
Remember, installing drip edge is a crucial step in protecting your windows from moisture damage.
Installing Siding Courses
- Measure and cut the siding: Use a tape measure to determine the length needed, then cut the vinyl siding using a utility knife.
- Prepare the area: Remove any existing siding or trim around the windows. Ensure that the area is clean and free of debris.
- Start at the bottom: Begin installing the siding courses at the bottom of the window. Align the first piece with the bottom edge of the window and secure it to the wall with nails or screws.
- Continue upwards: Install the subsequent siding courses, overlapping each piece. Make sure they are level and straight.
- Trim as needed: Trim the top piece of siding to fit around the top of the window. Use a snap-lock punch tool to create the necessary tabs for a secure fit.
- Complete the installation: Repeat the process for all windows, ensuring that each siding course is securely fastened and properly aligned.
Additionally, it is crucial to note the importance of using the right tools and following manufacturer instructions for a successful installation. Remember to handle the vinyl siding with care to prevent any damage during the process.
Following these steps will provide a seamless and visually appealing installation of siding courses around your windows.
Conclusion
Vinyl siding installation around windows is a crucial step in achieving an aesthetically pleasing and durable home exterior. By following the steps outlined in the reference data, you can ensure a professional and seamless finish.
- Take the time to carefully measure, cut, and secure the vinyl siding around each window, paying attention to all the necessary details.
- Additionally, consider incorporating unique finishing touches that enhance the overall appearance and functionality of your window sidings.
- By approaching this task with precision and care, you can achieve a polished and long-lasting result.
Don’t miss out on the opportunity to enhance your home’s curb appeal and protect it from the elements – get started on your vinyl siding installation around windows today.
Some Facts About How To Install Vinyl Siding Around Windows:
- ✅ It is important to confirm that building paper is in place beneath the window’s nailing fin. (Source: Team Research)
- ✅ The flashing at the bottom of the window should extend beyond the window’s corners and overlap the nailing hem of the siding course below the window. (Source: Team Research)
- ✅ Window flashing should extend 5 inches from the sides and 2 inches from the top and bottom. (Source: Team Research)
- ✅ J-channels and drip edges are the two types of siding trim pieces used for installing vinyl siding around windows. (Source: Team Research)
- ✅ It is important to leave a 1/4 inch gap between siding pieces and J-channels to allow for expansion. (Source: Team Research)
FAQs about How To Install Vinyl Siding Around Windows
How do I install vinyl siding around windows?
To install vinyl siding around windows, follow these steps:
- Confirm that building paper is in place beneath the window’s nailing fin.
- Confirm that flashing at the bottom of the window extends beyond the window’s corners. It should overlap the nailing hem of the siding course below the window.
- Confirm that window flashing extends 5 inches from the sides and 2 inches from the top and bottom.
- Cut a J-channel wide enough to go across the bottom of the window frame and the J-channels on each side of the window.
- Position the J-channel piece so that the bottom of the “J” touches the bottom of the frame.
- Mark the edges of the window frame on the J-channel.
- Snip the bottom edges of the J-channel up to the marks to form little tabs.
- Cut off the tabs.
- Nail the bottom J-channel below the frame. All nailing should be done with roofing nails. Leave nails a bit loose to allow for expansion.
- Get a piece of J-channel a few inches longer than the side of the window.
- Mark a 45-degree angle with the carpenter’s square from the outer edge of the J-channel up to its inner edge.
- Snip along the 45-degree mark.
- Trim straight across the nailing fin of the J-channel to where the 45-degree cut meets the inner edge.
- Cut off extra nailing fin but leave the tab at the back of the J-channel.
- Set the J-channel against the window frame and on the bottom J-channel. The 45-degree cut will form a mitered joint, and the tab will slide beneath the “J” of the bottom J-channel.
- Mark the side J-channel at the top edge of the window frame.
- Trim the side J-channel at the mark and nail in place.
- Repeat steps 10 through 17 for the other side.
- Now you need a drip edge piece of trim to continue learning how to install vinyl siding around windows.
- Measure and cut a drip edge the width of the window plus both J-channels along the side.
- Set the drip edge in place and mark where the tops of the J-channels meet the drip edge.
- Cut tabs from the drip edge and bend them down into the J-channels.
- Nail drip edge over window with tabs fitted into J-channels.
- Cut a J-channel piece the width of the drip edge.
- Cut tabs in the J-channel to fit over the drip edge tabs and into the side J-channels.
- Nail the top J-channel into place.
- As you lay courses of siding, cut them to fit around the window behind the J-channel edges.
- Leave 1/4 edge of space between siding pieces and J-channels to allow for expansion.
Why is it important to pay attention to edges and seams when installing vinyl siding around windows?
Paying attention to edges and seams is crucial when installing vinyl siding around windows because they are potential areas where water can penetrate. Properly sealing these areas will prevent water damage and ensure a watertight installation.
What are the two types of siding trim pieces used when installing vinyl siding around windows?
The two types of siding trim pieces used when installing vinyl siding around windows are J-channels and drip edges. J-channels are used to trim the sides and bottom of the window frame, while drip edges are used to create a watertight seal over the top of the window.
What should I confirm before installing vinyl siding around windows?
Before installing vinyl siding around windows, you should confirm the following:
- Building paper is in place beneath the window’s nailing fin.
- Flashing at the bottom of the window extends beyond the window’s corners and overlaps the nailing hem of the siding course below the window.
- Window flashing extends 5 inches from the sides and 2 inches from the top and bottom.
How do I create a mitered joint when installing vinyl siding around windows?
To create a mitered joint when installing vinyl siding around windows, follow these steps:
- Get a piece of J-channel a few inches longer than the side of the window.
- Mark a 45-degree angle with the carpenter’s square from the outer edge of the J-channel up to its inner edge.
- Snip along the 45-degree mark.
- Trim straight across the nailing fin of the J-channel to where the 45-degree cut meets the inner edge.
- Cut off extra nailing fin but leave the tab at the back of the J-channel.
- Set the J-channel against the window frame and on the bottom J-channel. The 45-degree cut will form a mitered joint, and the tab will slide beneath the “J” of the bottom J-channel.
What is the purpose of a drip edge when installing vinyl siding around windows?
A drip edge is used when installing vinyl siding around windows to create a watertight seal over the top of the window. It helps to channel water away from the window and prevent water from penetrating the siding and causing damage.
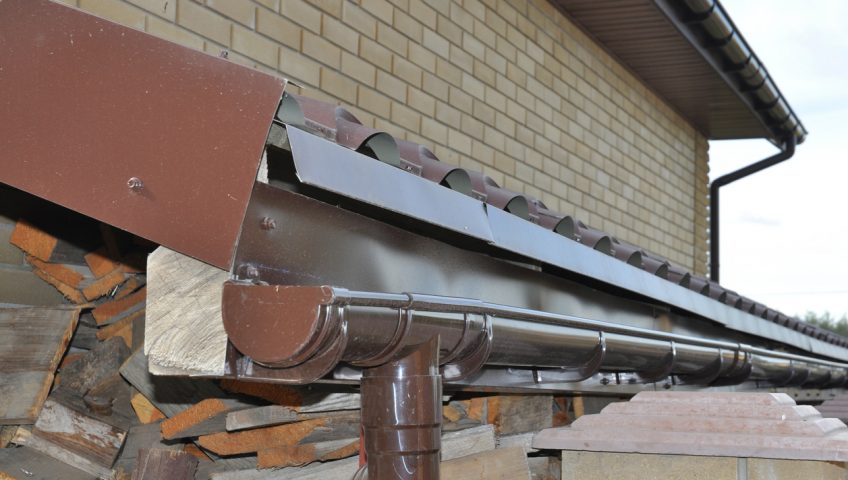
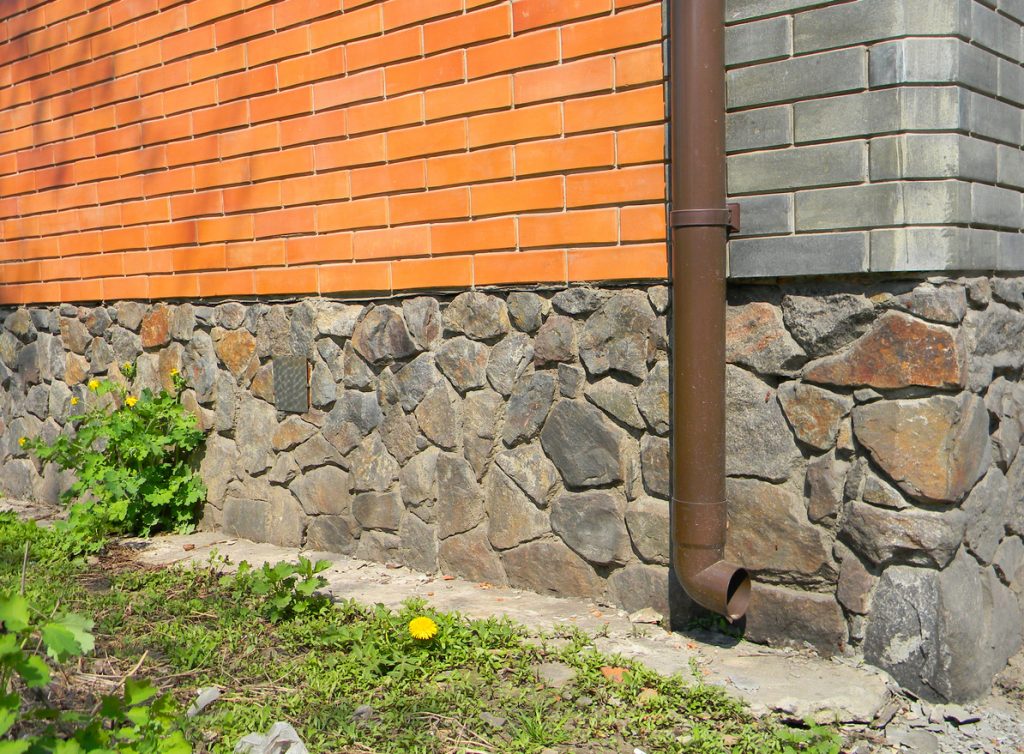
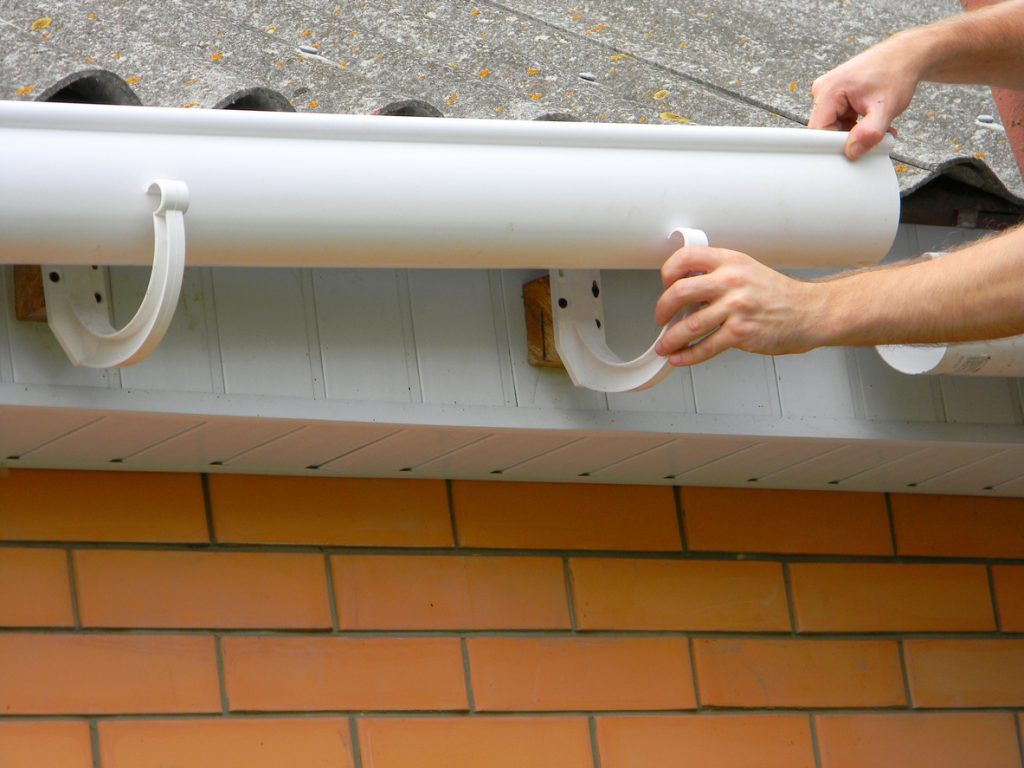
Cleaning your eavestroughs is crucial to the safety of your home. If your home needs eavestrough repair, installation or maintenance, contact the professionals at Alpine Eavestrough. We’d love to hear from you.
Phone: 403-242-7868